fbpx

In Season Training Tips

overtraining pic

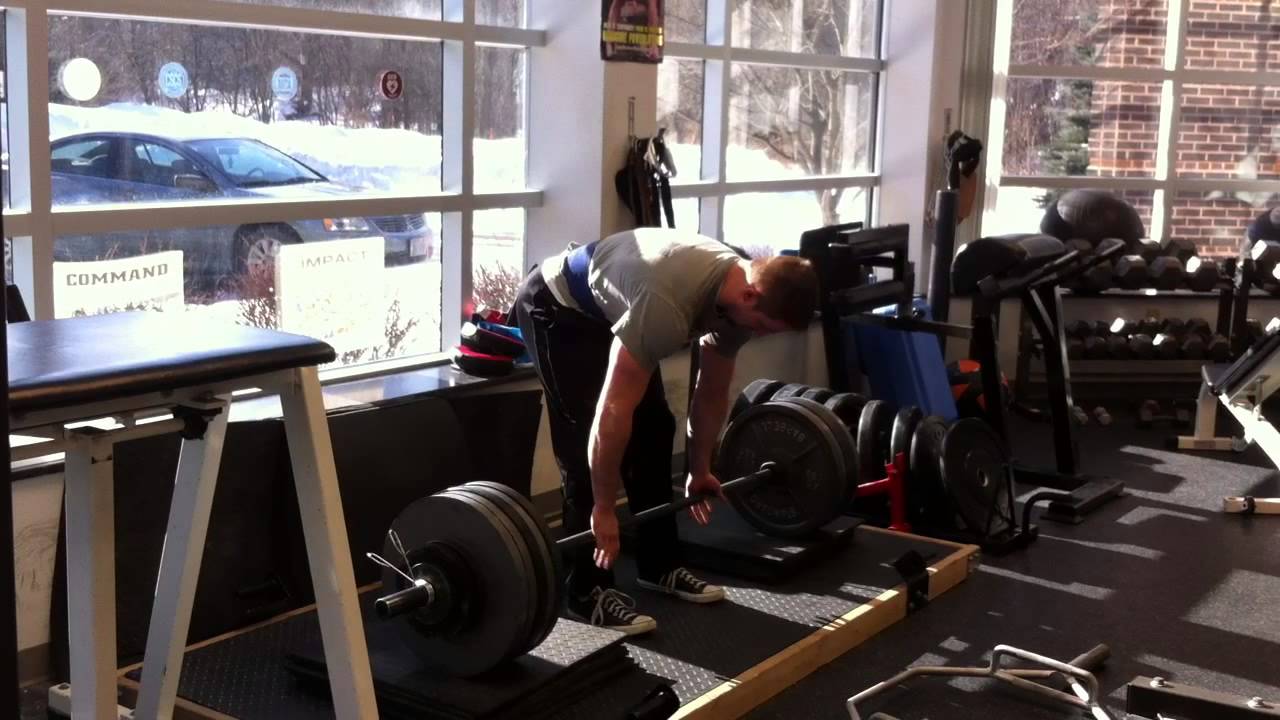
Don’t let this be you

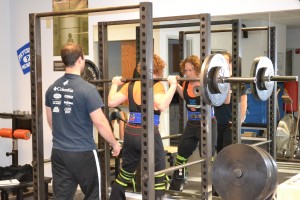
Its that time of year when football and volleyball season are in full effect and basketball and wrestling are just around the corner. While (hopefully) many athletes spent plenty of time training during the off season to showcase their optimal performance on the field or court this season, a lot of people get stuck when the season starts. Once practice, games and tournaments start, time in the weight room seems to go right out the window. Many of the strength and power gains that were developed all off season start to fade away and performance suffers. While athletes should not spend too much time in the weight room and definitely should not do many extremely taxing workouts during a competitive season, there definitely should still be something getting done. Its all about finding a healthy balance to the equation. Its all about looking at the overall stress that is put on the athlete’s system and making sure that it stays in a positive and healthy range.

In Season Training Rule 1:
Don’t try to make crazy improvements in the weight room during this time.
With all of the stress going through the system with multiple practices and games every week, there is not going to be tons of reserve left to fuel strength gains in season like there is in the off season when it is the top priority. Doing enough quality work to maintain the gains that were made during the off season and prevent injury should be the top priority during this time. If you are trying to go all out with lifting and conditioning at this time, you are going to burn yourself out for the times that you need to perform. This is not to say that some improvements can’t be made; it just won’t be extreme.

In Season Training Rule 2:
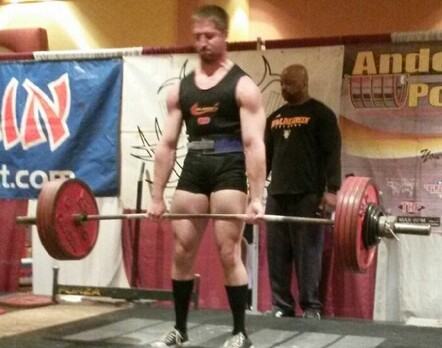
Pick 1 to 2 days to strength train.
If you are practicing and playing hard 4 to 6 days a week, you will not be lifting 4 days a week anymore. You need to pick one to two days where practice is lighter and spend 30 to 40 minutes in the weight room hitting the most important movements that are needed. For example, pick 2 big bang strength movements and pick 2 to 3 accessory and prehab exercises and get out and rest.
Example:

1. Front Squat
2. Floor Press
3. One leg rdl
4. Pullup
5. Half Kneeling band hold
6. Cobras
7. breathing drills

In Season Training Rule 3:
Pick one week per month to lift heavy
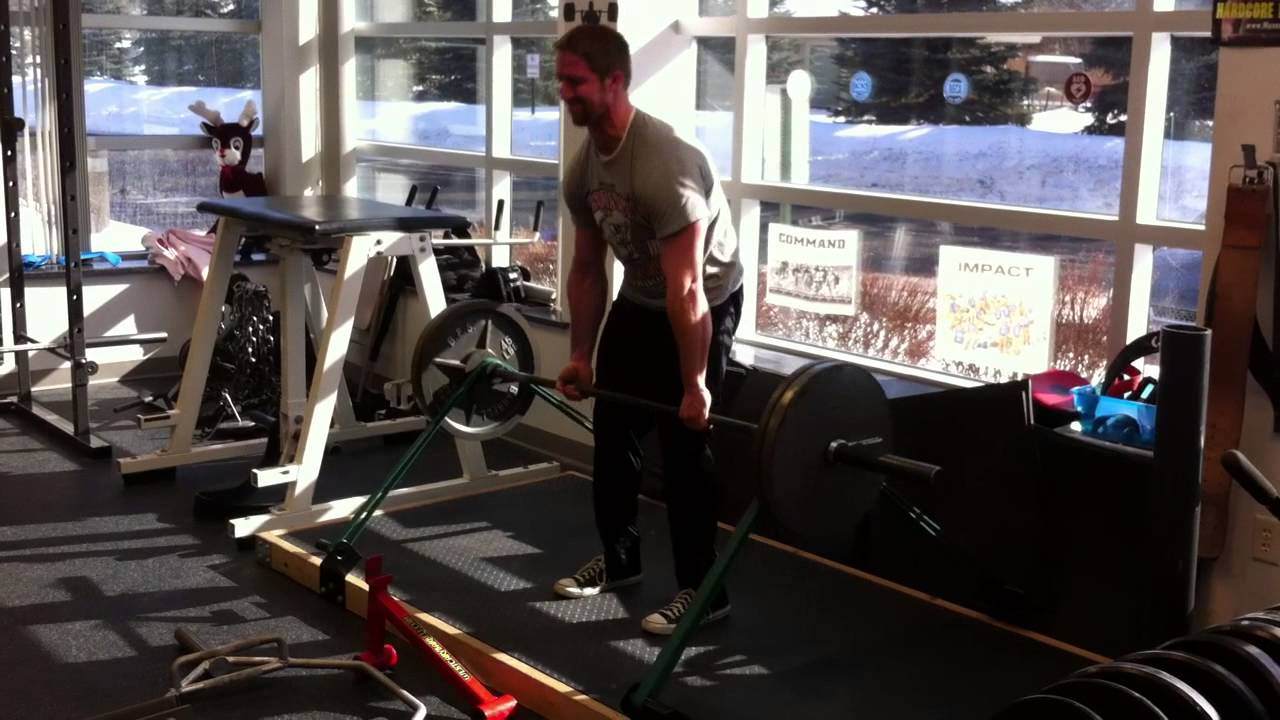
We can generally maintain max strength and power capabilities for up to 4 weeks (residuals) after ending specific training of these modalities (Issurin, Block Periodization). This means we will not lose our improved neural drive that we developed during the off season if we don’t train heavy for a few weeks. The trick is doing what is necessary to maintain this development. The answer is to do a microcycle once a month where we hit our main lifts hard and heavy. This will basically prolong the effects of our off season development rather than letting that wonderful force development capability fade away. The best week would be a week where you have an easier practice or game schedule. This would allow you to dedicate more energy towards getting your lifts in.  You might be able to do this more often depending on your overall schedule and stress load.  Using the exercises from before, the workout might look like this:
1. Front Squat 4×3-5 leaving 1 to 2 reps in the tank
2. Floor Press 4×3-5 leaving 1 to 2 reps in the tank
3. One leg rdl 3×8
4. Pullup 3×5
5. Half kneeling band hold 2×8
6. Cobras 2×12
7. breathing drills to get parasympathetic after all of the sympathetic stimulation from the season and the heavier lifting

In Season Training Rule 4:
Any extra conditioning work should be Aerobic.
While you probably don’t need to do extra conditioning work during a season as you are naturally getting PLENTY during practice and games, any that you might do should be strictly aerobic. Extra anaerobic work is way too taxing for your system and you are already getting more than enough with your sport. Trust me. Some extra low intensity aerobic work can actually help with recovery and help you perform better by balancing out the anaerobic workload that is already being given to your body. This will also help maintain the residuals of aerobic development from the off season (at least there should have been some) similar to the max strength week talked about earlier. Activity should be low intensity and generally continuous. Heart rate at 120-140, 20-30 minutes. An example would be:
1. Light airdyne bike
2. Light jump rope
3. Med ball tosses
4. Quick steps
5. Light kettlebell swings

The possibilities are pretty endless here as long as the intensity is low. Pick a lighter day of workload to do it.

In Season Training Rule 5:
Spend some time getting parasympathetic.
With the psychologically stressful nature of an intense season with competition, practices, games, etc. it is very easy to get pretty sympathetic, aka in fight or flight mode. Getting stuck in this state will lead to plenty of problems that we don’t want. When we step off of the field or court, we need to shift back towards our parasympathetic sides, aka rest and relax mode so that our body and mind can recover. Practicing breathing drills getting full inhalation through the nose and full exhalation through the mouth (BLOW all of your air and tension out) is a great and practical way to do this. Go home, lay down, put your feet up on a chair and breathe for 10 to 15 minutes if you can. At the very least, take 10 to 20 breaths to give your nervous system some kind of relief. A full body relaxation massage is also a great way to accomplish this goal. (I know someone who is decent at this 😉 Foam rolling and mobility work is also a good way to go.
While this is by no means an exhaustive list, it should give you some good tips to help fuel your in season training and keep you performing at an optimal level on the field or court.  Get to it!


-Nick

Subtle Technique Considerations for the Deadlift

dan deadlift

Today, we have an awesome article on deadlift technique from our coach Dan Zwirlein.  Dan is a phenomenal coach and trainer and is a great deadlifter, having pulled over 700 lbs on multiple occasions in sanctioned competition.  If you want to improve your deadlift, hes a pretty good person to listen to.  Get your notebooks ready:


—————————


Between the three powerlifts (squat, bench, deadlift), the deadlift is the least technical of the three: Get mentally prepared and just grip and rip. While I will concede that this is somewhat true, it would be a mistake to not approach the deadlift with the same technical mastery as the other two lifts. Now, there are already many comprehensive articles and videos on the internet about deadlift technique and programing, so the scope of this article is to try to present some different things to think about that will help in your technical approach to the deadlift.

Using a top down approach to set up
Setting up for the conventional deadlift is very individual depending on factors mostly revolving around your anthropometry and weight. Taller and heavier lifters probably need to start farther away from the bar to get into proper position than shorter and smaller lifters. A good way to play around with proper starting position is to stand with a bar and perform a top down deadlift. This should be done with a neutral spine position that can be maintained throughout the entire range of motion. As the bar gets to the knees, the shins should be vertical, from there you can play with how far your knees go over the bar as you bring it down to the floor. Test and retest where you place your feet and find a position that you can get into while simultaneously maintaining a neutral back position to pull from. This is similar to what Mark Bell calls “reverse engineering the deadlift”. Other things to play around with are how much you externally rotate your feet and how wide you grip the bar. A place to start from is a slight toe out and hands wide enough so that they aren’t rubbing against your legs as you pull. The key is to find a position where you have an slight arch in the low back and as close to a neutral position as you can get in the mid to upper back.

Create tension throughout, not just in the upper back
A lot of articles on the deadlift mention pulling “slack out of the bar” but don’t mention how that should be done at the same time as your hips drop into position. If you just pull slack out of the bar without using it to build tension throughout the body, it’s not going to do much in the way of helping to break the initial inertia of the bar. You should use the “slack” to help drive your feet through the floor while building tension through the lats and upper body so the entire body is under the tension of the bar. This helps take away any feedback from the bar and ensures a proper position at the start of the pull. I think the best display of this is to watch Mike Tuchscherer set up for the deadlift. As he swings his hips down his chest opens up wide and his lats tighten down pulling the scapula into a depressed but not retracted position. The bar never pulls him out of position because he uses the natural bend in the bar or “slack” to create tension throughout his entire body from his starting position. However, for bigger and taller lifters this becomes a hard position to get into. As mentioned before, you need to find a position that works for you but still puts you in a good position to pull from. A lot of times this means some rounding in the upper back, which is a lot less dangerous than flexion in the low back if you can maintain the same curvature throughout the spine from start to lockout.

Use a “First Pull” to maintain tension
Once tension is built in the starting position, a first pull needs to occur in order break the initial inertia of the bar off the floor. A lot of times people will just try to rip the bar off the floor and it will move quickly until mid-range, slow down, and then the lockout will be very difficult. This also pulls the back out of a neutral spine position and forces the lifter to lockout with his hips too early, and then they finish the lift with all back extension, hence the reason the lockout becomes difficult. The approach should be to lift fast but not to the point where the upper body loses tightness and a neutral position. I have suffered from this problem myself but have gotten away with it by being able to generate enough speed off the floor to carry all the way to lockout. This is where getting setup properly will help. Speed will suffer from the floor, i.e. the bar will move slower, but proper alignment and tension in the set-up will make the midrange and lockout easier. This is where playing around with your alignment can help too. The goal is to find the sweet spot where you can generate enough speed off the floor but not pull yourself out of position.

Midrange to lockout considerations
Midrange to lockout is simplest in terms of technique. Bring the bar into the body, squeeze the glutes, and pull the shoulders back. Where people get into trouble is when the hips and or knees lockout before the torso is upright. Like in the example I talked about before with the hips driving up too fast, it’s really difficult (and dangerous) to lockout heavy weights with just back extension; especially when the back is in a flexed position. Ideally, all three should lockout together. Once again, if you set-up correctly and maintain relatively the same upper body position throughout, then the lockout becomes easy because you are in a position to extend the hips, knees, and back at the same time.

If your deadlift progress has stalled, the initial reaction is to assume another special exercise needs to be added but most of the time the simplest answer is usually the right one…your technique needs improvement. Hopefully I gave you some small but profound things to think about from setup to lockout that can help in your technical mastery of the deadlift.

-DZ


Steppin Into Fitness

Today, we have an article by our fantastic trainer and coach Brittney Wilinski about staying active and eating healthy while traveling.  Great information for any of you traveling out there……….


brit pushup

Brit doing her thing on the beach

Recently, I went on vacation to St.Petersburg, Florida for a week… and let me tell you, the weather was much more beautiful and consistent there! Like myself, I am betting there are quite a few of you who will be traveling, even if it is a 3-day weekend vacation. It is definitely a time for relaxing, having fun with family and friends, and most likely splurging a little more on food and drinks. But what about all that hard work you’ve been putting in at the gym and all the time you’ve been slaving in the kitchen making healthy meals?!

News flash, you don’t have to completely ditch your workout and eating habits just because you are going on vacation! It really is pretty easy to stick to your normal routine for the most part. While I was gone for a week in Florida, I stayed in a condo and was able to go to the grocery store and buy food for the week that I could cook or prepare easily. Some of the main foods I grabbed were: eggs, turkey, chicken, a bunch of veggies, Greek yogurt, fruit, granola, and salsa and guacamole (I love eating my veggies with both of these!). Even when we did go out for lunch or dinner I would try to order something that was more towards the healthier side and stayed away from deep fried, super greasy foods. One day I got a Jerk Chicken sandwich but ditched the bun and put it on a bed of lettuce… it was amazing! Don’t be afraid to ask your servers ‘weird’ or ‘picky’ questions, it really pays off because many times restaurants are very flexible, so you get a healthier meal and they get a better tip 😉 Win, Win!

Eating healthier is one goal to stick to, but there is also the working out and being active part! One thing that I tried to do every single day was walk on the beach. Again this is a win, win situation: I got to enjoy the warm Florida weather and amazing view, while also getting the benefit of being active. Another way to enjoy my vacation while also getting some exercise in was by walking to shops or stores, swimming in the pool or ocean, and playing volleyball or fun pool games that required me to move around a lot.

When I wasn’t outside enjoying myself, I was in the condo doing a quick bodyweight circuit to start my day off! Here is what my circuit consisted of:

1a. Suitcase Goblet Squats 3-4×12
1b. Pushups 3-4×15-20 60s. rest

2a. One leg hip thrust 3-4×10
2b. Suitcase rows 3-4×12 60s. rest

3a. Step-ups 3×12/leg
3b. Suitcase offset carries 3x 45s. rest

4a. Planks 3×6 w/10 sec. hold
4b. Double Leg Lowering 3x 30s. rest

5. Bent over ITY’s 3×15 30s. rest

I used my carry-on suitcase and loaded it up with a computer, book, and some full water bottles for my squats and one-arm rows. You could also do bodyweight squats and add a pause to make it more challenging. For the offset carries I used a larger suitcase that had some shoes in it and added my computer and book to make it slightly heavier. In our room there was a bench and chair; I used the bench for my hip thrusts and the chair for my step-ups. If a bench isn’t available, you can do glute bridges (double leg/single leg/march) from the floor and add a few more reps. To add weight to your ITY’s you could use water bottles or soup cans, or just body weight with more reps. If you are doing body weight or very light weight, you are still getting a great metabolic effect by doing more reps with less rest time.

As you can see, it really isn’t that hard to stay somewhat on track while you are out enjoying yourself on vacation. The main thing is to plan ahead of time what you will do for workouts and figure out where the nearest grocery store is. It wouldn’t be a bad idea to check out some restaurants’ menus to see which ones have healthier food options especially if you are going on a road trip!

Travel workouts can be some of the best and most fun workouts you will have.  Be creative and spontaneous and you can get some awesome training in while you are away!


Attention Ladies: Ditch the ‘Shape’ and Go for the Weights

therese top squat


Today, we have an article by new RUFP coach/trainer Brittney Wilinski.  Take it away Brit!    


   To all the ladies out there

How many of you have picked up a Shape magazine just to look at the workouts that will “Sculpt your butt with these great moves!” or “Tone your arms in 3 weeks!” If I know many women, almost all of us have fallen for the great “Shape workouts” because we are too intimidated to go into a weight room filled with guys lifting heavy weights, or we have this perception that if we lift more than 15 pounds we are going to get big and ‘bulky’.

News for you ladies…. throw your magazines out and hit the weight room. While you’re there, throw weight around and be proud of it! I’ve been training for over two years now and since then I have not become the hulk (mind you I like to squat darn near 185-200 pounds). I feel that I am a walking spokes model for women who strength train because ever since I started I have only gained muscle and lost body fat and couldn’t feel any better! So today I want to educate you about why you should lift some weight (I’m not talking about those 5 pounders) and show the boys up in the gym!


So you won’t lift heavy weights because you think you’ll get big and bulky…

Men can get a lot more muscular for a reason: testosterone! The beauty of being a woman is that we have much less testosterone than men. According to the study by Kraemer and Ratamess, “Hormonal Responses and Adaptations to Resistance Exercise and Training” in the Sports Medicine journal, we only have about 5% of the testosterone that men do – that means men have about twenty times as much testosterone as us. If a woman wanted to get larger and bulkier she would have to take anabolic drugs.

Another physiological difference between men and women is the difference in muscle fibers. We have fewer and smaller muscle fibers compared to males. According to the book, Science and Practice of Strength Training, women only have about 25-55% of the average upper body strength and about 70-75% of the average lower body strength compared to males. Therefore, if you think you’ll get jacked up arms from benching, rowing, or other upper body exercises…think again! Many of us girls could use some more upper body strength based off of these averages.

We can lift like the boys; maybe not as much weight, but just as hard and intense! Our bodies need to be challenged in order to create a stimulus large enough to cause adaptations in our bones, muscles, cartilage, ligaments and tendons. This could mean eventually getting ourselves to do fewer reps with maximal weight instead of always doing 10-15 reps with lighter weight. If we don’t make our bodies adapt to a stimulus, then we won’t see the results we are looking for. Therefore, doing only high repetition exercises with 3 pound dumbbells will not accomplish this.

Why do some girls gain weight once they start to lift?

Lean muscle tissue has weight too! While the number on the scale may go up initially or stay the same, check out your body fat percentage and see how it drops. Building more lean muscle while weight training will actually help to burn more calories and fat once your workout is over compared to sitting on a treadmill for 2 hours. This is because your metabolic rate increases when you build more  muscle, which then decreases the amount of body fat. When it comes down to it, we want to lose body fat, not just weight.

On the other hand, some women may gain more weight and increase their body size due to poor eating habits. Many people have this misunderstanding that just because they worked out and lifted now they can go have a whole pint of ice cream or a huge plate of pasta and breadsticks afterwards and be fine.

On the other end of the spectrum, some women decide to starve themselves. By doing this your metabolism slows down and your body basically holds on to fat stores as a protective mechanism. Hate to burst anyone’s bubble but these options are definitely not the way to go! As you start training you want to make sure you train hard at the gym and eat like a champ in the kitchen. What I mean is fuel your body with wholesome nutritious foods and cut out the sugary, processed, greasy, and deep-fried foods! Get some lean protein sources, fruits, vegetables, and complex carbohydrates into your diet and you will be off to a good start.

Sounds like a lot to change hey? I know I know, so start off trying to take out one to two unhealthy things from your diet and replace them with some other healthy food options. It’s simple and you’ll be off to a great start towards that new you.

Lifting weights is dangerous and can cause more injuries than machines…

Well, I won’t lie; any exercise can be dangerous without the proper training and technique. But if you take the time to learn exercises correctly, seek help for proper training, and follow a good program that is fit just for you, then you will be set to go. Weight lifting can actually help decrease your rate of injury by increasing bone strength (which decreases the risk of osteoporosis) and making connective tissue stronger which will increase your joint stability.

Also, If you train properly and learn how to move the right way with fundamental human movements like squatting, hip hinging, pushing and pulling, you will function more effectively with daily activities, lowering the risk of injury in all areas of life.  On the other hand, machines can actually lead to injury by promoting inefficient and unnatural motor patterns and putting negative stresses on joints that are locked into an unnatural path of motion.

Learn how to lift correctly and you will be more resistant to unwanted injuries!!  Always make sure to do a proper warm up before you lift in order to help decrease your chances of any injuries.

One last awesome benefit from weight lifting…

After a few months of lifting you might start to notice how your pants start to fit a little more loosely and that dress you’ve had in the closet for over a year fits to a T… yep, now we are ecstatic ladies! Working out in general helps to increase our moods for the better and it helps improve our self-esteem and body image. We all know that if we have to go down in a pant size at the store, we are jumping for joy in that changing room.

So treat yourself to some good hard work at the gym and you will reap the benefits of feeling even better in your own skin.
If any of you ladies would like to check out a female friendly strength training website filled with great tips & healthy delicious recipes, take a look at girlsgonestrong.com and check out the archives of articles at our site here.


About the Author

Brittney Wilinski is an Assistant Strength Coach and Personal Trainer at Rosencutter Ultra Fitness and Performance.  She is a graduate of the University of Wisconsin-La Crosse and holds a Bachelor of Science Degree from the Exercise Sport Science Program with a Fitness Major and Nutrition Minor.  Brittney is working towards her NSCA certification as a Certified Strength and Conditioning Coach Specialist (CSCS).  Brittney was a group fitness instructor for 4 years at the University of Wisconsin-La Crosse teaching cycling, boot camps and water aerobics.  Since becoming an instructor, she has realized her passion and love for helping people succeed in reaching their health and fitness goals.
As an understudy of Nick Rosencutter, she has benefited tremendously in analyzing and correcting common exercise techniques along with postural imbalances.  She is looking forward to helping people and positively impacting lives within the health and fitness industry.

Deadlift Through That Sticking Point

nick lockout


If you are at all serious about strength training then you undoubtedly have deadlifted.  If you are at all working to increase your deadlift, you have most likely felt a sticking point at some portion of the lift.  Personally, if I miss a lift on a max attempt at a meet, I tend to get stuck an inch or two below my knees.  While there are multiple exercises I have been using to destroy this sticking point and get my pull to the low to mid 600’s where it should be (I missed 578 a couple times in recent memory and had 600 to my knees last august), one of my favorites is paused band deadlifts.

     Paused Band Deadlifts

With this exercise, you put bands over the bar and you pause at or just before your sticking point, before driving through to lockout.  If you don’t have platform attachments as shown in the video, you can loop them under a power rack or under dumbbells.  Simply performing these pauses with straight weight can also work well; you just won’t have the added band tension trying to pull you through the floor.  With this pause, you basically train your body to grind through that sticking point.  The neurological drive you will send to your muscular firing and coordination at that specific range of motion is a surefire way to train your body to blow past this point.   It is essentially an isometric exercise in the middle of a full range deadlift.  With isometric training, you will generally gain strength up to 3 inches above or below the point of the ROM that you are training.  Throw in the band tension and these will make you a monster. Check out the video and give them a shot. (Note: I purposely started with my hips a little higher than normal in this video; I’d recommend pulling them down a little lower to start for most people)

YouTube player


    Block Deadlifts

Another great exercise that can help is block deadlifts.  I give thanks to Dan Zwirlein and Dan Pasholk for recommending these to me.  Since the weights rest on the blocks instead of the bar resting on pins, it more closely resembles the feel and position of this point of the range of motion of a regular deadlift (pulling off of the rack is a little different).   In general, these will be harder when pulling from a sticking point than when pulling from the floor since you have NO momentum to get you past it.  When done correctly, if you PR from blocks at a point that is hard for you, it should carry over to improvement with your full pull.  Here is video of me hitting a PR about a month before my meet from last weekend.  These were done BEFORE the band deads in the first vid. You could use both or cycle between them in different cycles depending on what you are doing. Note: you should mimic the same hip position that you would be in at this point of the range of motion if you were doing a full deadlift.

YouTube player


The result? I just smashed an all time PR last weekend at the WABDL World Cup in WI Dells with a 601 lb deadlift at a bodyweight of 186. While there were definitely other variables that helped make this happen, I definitely feel that these exercises really played a big role.  Give these two exercises a shot and watch your deadlift sticking point disappear!!


YouTube player


Train hard!

-Nick

Open Your Shoulders but Don’t Crush Your Back


       If you have been exposed to any type of movement or postural training, you undoubtedly know at least to a certain extent that “being tall” and having open shoulders are important when pushing or pulling or in many cases, standing or sitting posture. Exercises such as rows, w’s, pull aparts, etc. train our upper and mid back muscles such as the mid and low traps and rhomboids to become stronger and more endurable so that we can have more opening in our anterior shoulder region. You essentially train this “opening” with these exercises. While this is generally a great idea for many people, a common mistake that is often made is substituting posterior rib tilt for scapular retraction (pulling the shoulder blades together). In a failed attempt or an exaggerated attempt to open the front of the shoulders up, people will tilt their ribs back and overextend their lower and mid backs instead of simply driving their shoulder blades together and opening the chest up. I especially see this with many high school athletes that I work with.


     This should be watched for with many exercises and positions. The cue “big chest” can sometimes work but many times can lead to the rib tilt just discussed instead of simply opening the anterior shoulders up. “Be tall” tends to work better when fixing this problem. This carries over to squats, standing posture and many things in between. Next time you are thinking of fixing that shoulder posture: Be tall and open those shoulders up but don’t get too crazy and crush your low back. One final thought: If someone has no flexion in their thoracic spine, their scapula will be unstable until you restore that flexion so “shoulder opening” exercises won’t help as much until that happens.

    Below are a video of a Band W with level ribs and then a Band W with posterior rib tilt .  As I mentioned, this is a compensation you want to be aware of with many exercises, movements and positions.  Take note and your posture, movement and strength will improve.  Other example vids can be found here:  proper position and improper position.


YouTube player
e-book

Fifth Dimension Fitness presents...

Tired of not getting the results you want?

Get our FREE e-book when you sign up for our newsletter and get started on the road to success!

Get the FREE book!

This will close in 0 seconds